Stoffenspinsels is ondertussen al een flinke maand open. Hoog tijd dus voor een blik achter de schermen. Mijn keuze is hiervoor gevallen op een leuk babynestje. De schattige robottenstof ligt al een tijdje in mijn kast en ze is toch gewoon veel te mooi om niets mee aan te vangen.
Stoffenspinsels has by now been open for nearly a month. So it’s about time for a look behind the scenes. My choice has fallen upon showing you how I’ve made this cute baby cradle. The nice robot cloth had been lying for a while already in my closet and it was just ways to beautiful to be left unused.

Eerst worden alle stoffen geknipt en geoverlockt. Deze machine gaat de naden bewerken zodat het dekentje duurzamer wordt. Van deze naden zie je helemaal niets meer als het dekentje in elkaar staat.
Firstly, all the cloths are cut and overlocked. The machine is going to make it more durable by improving the stitching. When the blanket will be finished, you won’t be able to see the stitching anymore.


Daarna wordt de voering geknipt. Het moet een comfortabel warm babydekentje worden, dus wordt het ook een dikke en een warme voering. Hij lijkt ontzettend dik op de foto, maar eens het dekentje in elkaar staat valt dit nog heel goed mee.
Afterwards, the lining is cut. It has to be a comfortable, warm baby blanket, so it needs also a thick and warm lining. It looks really thick on the picture, but when the blanket will be finished, the lining will turn out to be quite well.

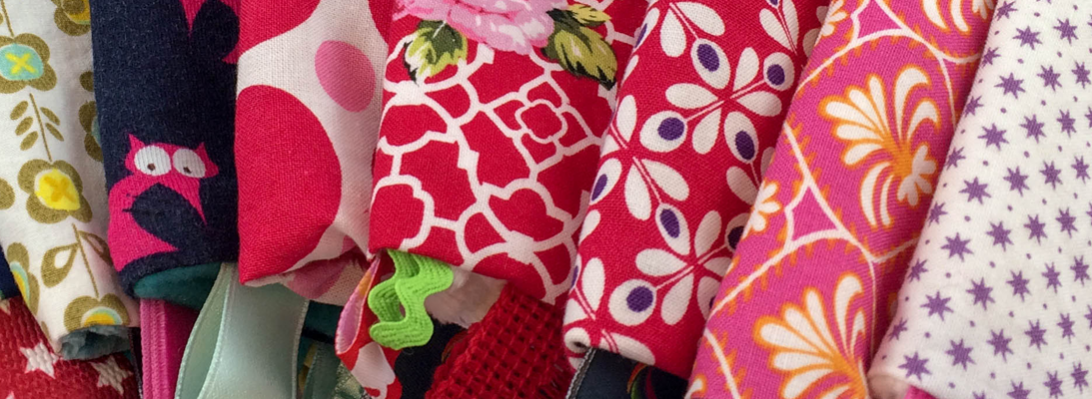
Alle restjes worden zorgvuldig bewaard. Zelfs als ze te klein zijn om nog iets mee te stikken, komen ze voor knutselprojectjes etc. altijd van pas.
All the remaining cloth is carefully stored. Even when they’re too little to be used for stitching, they can always be useful for tinkering.

Even passen natuurlijk.
Fitting a bit.

Nu worden de lintjes aan het deken gestikt. Een paar in de kap om deze vlot te sluiten en een paar aan de uiteindes van het deken. Als het kleine baby’tje wat beweeglijker wordt, zullen deze zeker welkom zijn. De lintjes worden nu al op het dekentje genaaid, zodat de uiteindes mee in de naad verdwijnen. Dan zie je er helemaal niets meer van.
Now the ribbons are stitched onto the blanket. Some of them onto the covering cap in order to be able to close it easily and some of them onto the endings of the blanket. When the little baby will get to move a little bit more, these ribbons will become very useful. The ribbons are stitched now already onto the blanket, in order to let the endings disappear with the stitching. Like that, you won’t be able to see anything of it.


En nu is het echte werk aangebroken! Het is tijd om het babydekken te stikken. Ik stik op de achterzijde van de stoffen, zodat als ik het dekentje omkeer, de lelijke naden in het dekentje verdwijnen. Om het deken vlot om te kunnen keren, heb ik een kleine opening gelaten. Die opening wordt met de hand dichtgenaaid.
And now the real work can begin! It’s time to start stitching the blanket. I stitch on the back of the cloth in order to let the ugly seams disappear into the blanket when I’ll turn it around. In order to be able to turn the blanket easily around, I’ve let a little opening in it. The opening is sutured manually.

 En nog een beetje passen…
More fitting…


Voilà! Nu nog een mooie rand rond het dekentje stikken. Deze zorgt ervoor dat het dekentje niet meer zo in elkaar zal zakken. Dat maakt het net een beetje verzorgder.
Done! Now I’ve still got to stitch a nice ribbon around the blanket. Thanks to that the blanket won’t fall together that easily anymore. In that way it looks a bit neater.

En nu staat het dekentje eigenlijk helemaal in elkaar. Het kan al als een gewoon wikkeldeken gebruikt worden. Om het in de Maxi Cosi te kunnen gebruiken, ga ik nog openingen voor de riempjes maken.
And now the blanket is actually finished. It can be used as a normal wrapping blanket. In order to use it inside a Maxi Cosi, I’m going to make openings for the belts.


Hiervoor teken ik eerst de openingen op het deken met een klein krijtje. Dit gaat heel gemakkelijk terug af de stof, dus hier zie je helemaal niets meer van als het deken af is. Rond de lijnen heb ik nog even rond gestikt zodat de stoffen mooi op elkaar blijven liggen. Dan knip ik de lijnen open en naai ik hier met de hand met een mooie draad rond. Zo wordt het deken helemaal mooi afgewerkt.
In order to do this, I’ll firstly draw the openings onto the blanket with a little chalk. This disappears very easily, so you won’t be able to see it when the blanket is finished. Around the lines, I’ve once more stitched in order to make the cloths stay nicely onto each other. After that, I open the lines with a scissor and sew manually around the opening. So the blanket is finished properly.


En nu nog een leuke fotosessie natuurlijk.
And now some pictures.


